Day 6 (last) - Your first week in NodeJS
Prerequisite
- Day 1 - Your first week in NodeJS
- Day 2 - Your first week in NodeJS
- Day 3 - Your first week in NodeJS
- Day 4 - Your first week in NodeJS
- Day 5 - Your first week in NodeJS
Overview
During the course of this series, we have already developed a Node.js application that can be deployed on the cloud.
There are some providers which provide cloud hosting for Node.js applications, we will be using one of those called Heroku.
Heroku is one of the good options I found in the market which comes with a free DEV account, which you can leverage to start working on small projects or POCs.
Start with account creation
To use Heroku, you defiantly need an account which can be done from here.
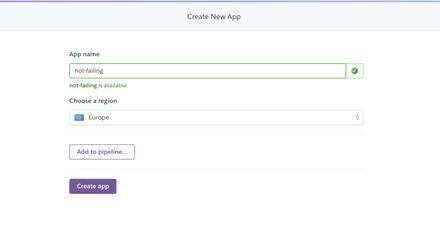
Once you have your Heroku account up and running, please create a project after login into your account.

All you need is a unique name here which will become a sub-domain of Heroku, in my case, it will be https://not-failing.herokuapp.com/
Start with Heroku git setup
Heroku-hosted projects are also based on a git revisioning system, you can simply take checkout of your project and commit your changes.
Since we already have our project developed, we can simply convert it into a Heroku project.
Install the Heroku CLI
Download and install the Heroku CLI.
If you haven’t already, log in to your Heroku account and follow the prompts to create a new SSH public key.
$ heroku loginCreate a new Git repository
Initialize a git repository in a new or existing directory
$ cd my-project/
$ git init
$ heroku git:remote -a not-failing
Deploy your application
Commit your code to the repository and deploy it to Heroku using Git.
$ git add .
$ git commit -am "make it better"
$ git push heroku master
Existing Git repository
For existing repositories, simply add the heroku remote
$ heroku git:remote -a not-failingSince we have the .env file on our system and node_modules, don’t forget to create a .gitignore file with the following content.
You would also need to migrate your .env file variables and their values to Heroku environment variables.
There are two ways to set them, let’s check the command line.
$ heroku config:set MONGO_HOST=my_hostname
$ heroku config:set MONGO_PASS=my_password
$ heroku config:set MONGO_USER=my_username
$ heroku config:set MONGO_DB=my_db_name
You can later check your config variables by typing $ heroku config:get MONGO_HOST
Before pushing your code you need to make the following changes in the
app.jsfile.
// app.js

// Add a condition to render "dotenv" package only on local
if (process.env.NODE_ENV !== 'production') {
  require('dotenv').config();
}

// Get PORT from process variables (to get Heroku PORT)
const PORT = process.env.PORT || 3000;

// Replace hardcoded PORT with variable.
app.listen(PORT);
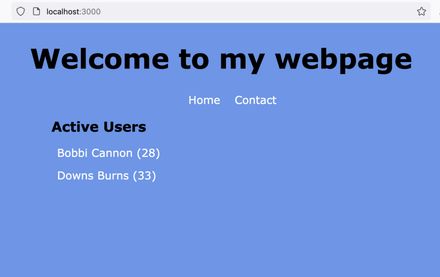
I believe your App is up and running on Heroku now, like mine 😃

running app
Hope you liked the series, feel free to drop a comment in case you want me to create another series on another topic.